

How To Set Up Power Supply
Modular power supplies are a recent innovation that makes installing a PSU easier than e'er. Instead of having all of your internal cables coming out of one port in your PSU, modular PSUs let the user manually attach each cablevision. This means you won't take those extra useless cables spewing into your example like with not-modular PSUs. Although installing a modular PSU is a simple process, there are some things to look out for to make sure your figurer gets the power it needs. Below is a guide on how to install a fully modular PSU.
Fitting the PSU
The first pace in installing a fully modular ability supply is to secure the PSU to your PC example. To do this, y'all'll need to identify the PSU in its designated spot and orient it correctly.
To find the dedicated PSU slot, cheque for a large opening in the back of your instance. Another style to locate the slot is to check for vents at the bottom of your case. The location you'll need to install your PSU will exist above a vent. Make sure your power supply'south on/off switch and power cable socket is facing abroad from the computer.
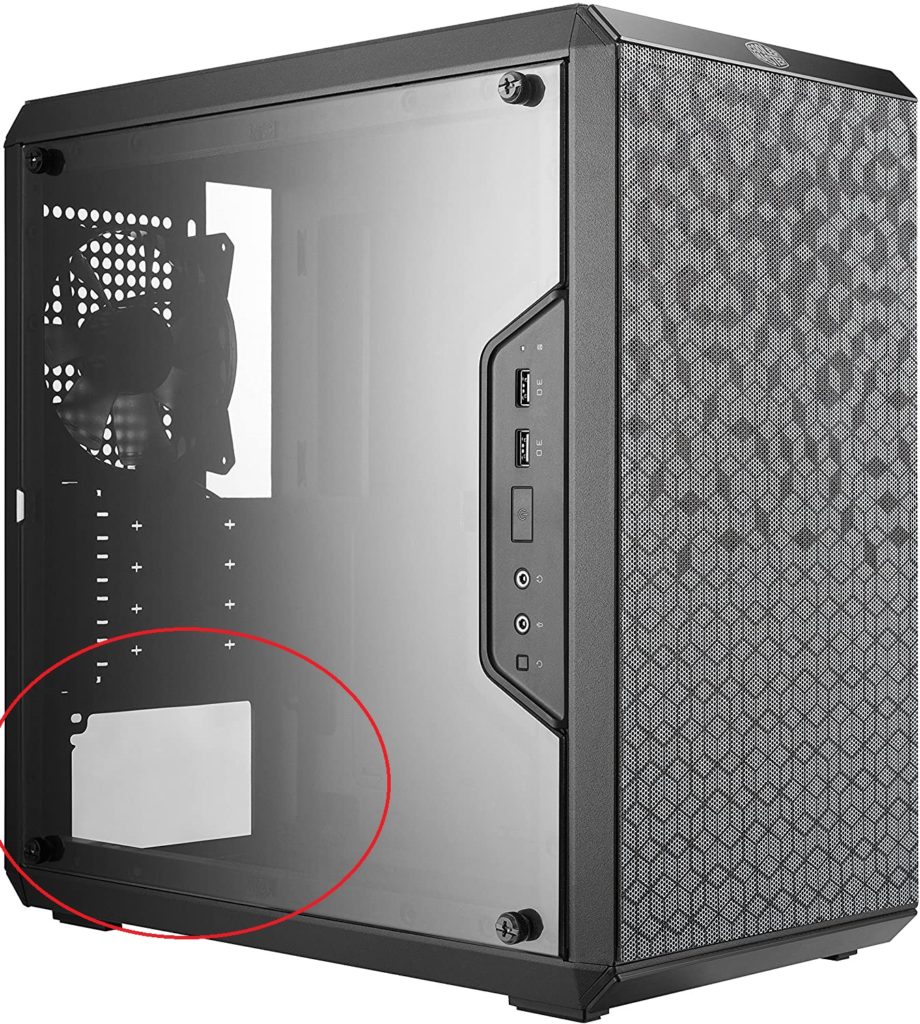
When placing the PSU, make sure its fan is facing downwards to allow the fan to suck in cool air through the vent. However, if your case doesn't accept a vent, place the PSU fan facing upward. You'll know yous're in the right spot when your PSU lines up with the screw holes in the back console.

After placing the PSU into its designated spot, use screws to secure the PSU to the backside of the case. For most power supplies, there will be four screws to install.
When installing a modular ability supply, you'll often non utilise every cablevision available to y'all. This is why it'due south important to plug each cable into your components first to avert ending upwardly with extra wires plugged into the PSU.
Cable direction
Before connecting your PSU to your internals, information technology's of import to keep cablevision direction in mind. Proper cablevision management helps the computer push around air effectively, keeping the PC cooler.
A great way to set up your cables to improve airflow is to make use of the space betwixt your motherboard and side panel. Most PC cases have a section between the backside of the motherboard and the side of the case to help with cable direction. Use this area to weave the cables in and out of the cable grommets, bundle them together, and use a cypher tie to secure them.
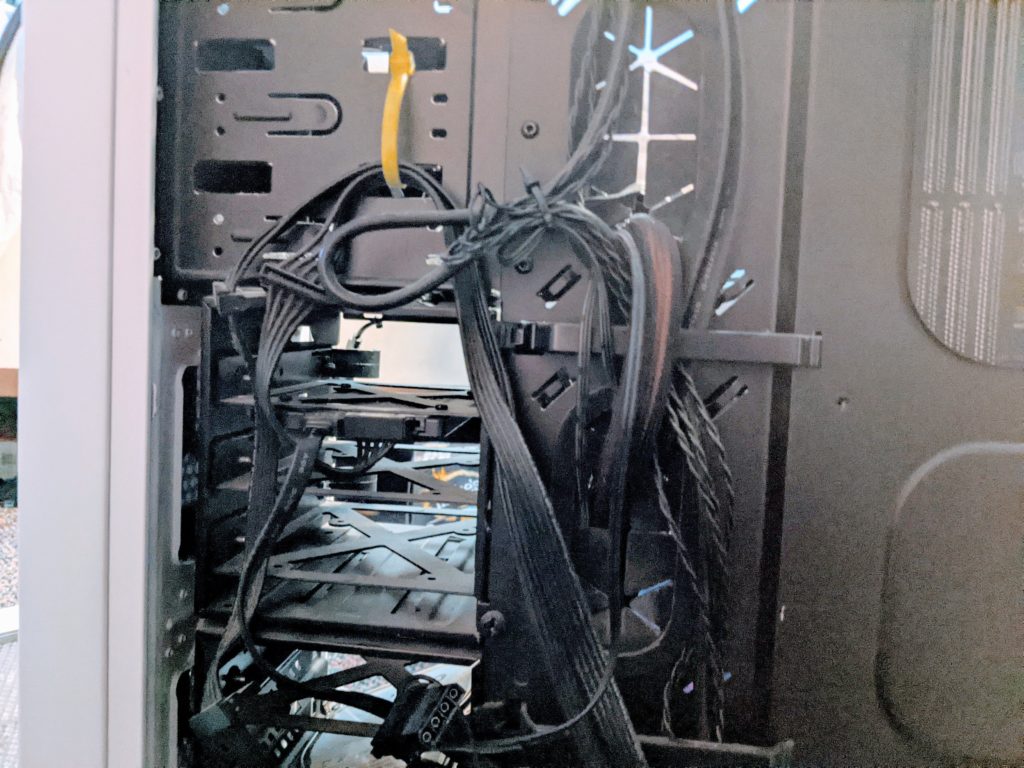
If you don't accept cable direction holes in your example, you tin still maintain proper cablevision management by grouping cables together as far away from fans as possible and zip tying them together.
Motherboard
The first cable you'll need to attach is the motherboard cable. It's a 24-pin cable that inserts into a large slot on the right-hand side of your board.
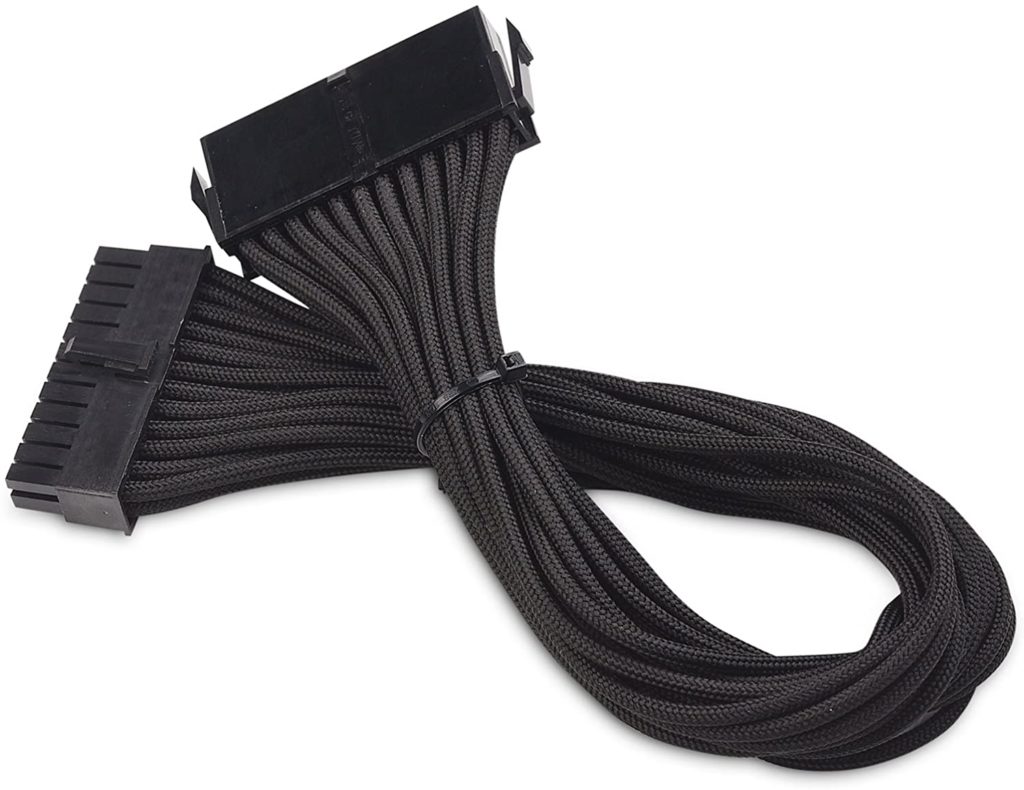
Because this slot is the largest on the board, it's easy to find. However, due to its large size, it may require a bit of pressure to spike securely.

Later this, plug the opposite cease of the 24-pivot connector into your PSU. Annotation that The motherboard port is ofttimes labeled "MB" for short and is typically located on the elevation left of the PSU.
CPU
The CPU to PSU cable looks similar to a standard PCIe cable, then it's important to make sure you are using the correct cablevision when installing your PSU. In gild to distinguish the 2, pay attention to the plugs at the finish of the cables. The CPU connector volition be marked "CPU" on the fitting that is inserted into the motherboard, while the PCIe cable is often blank.
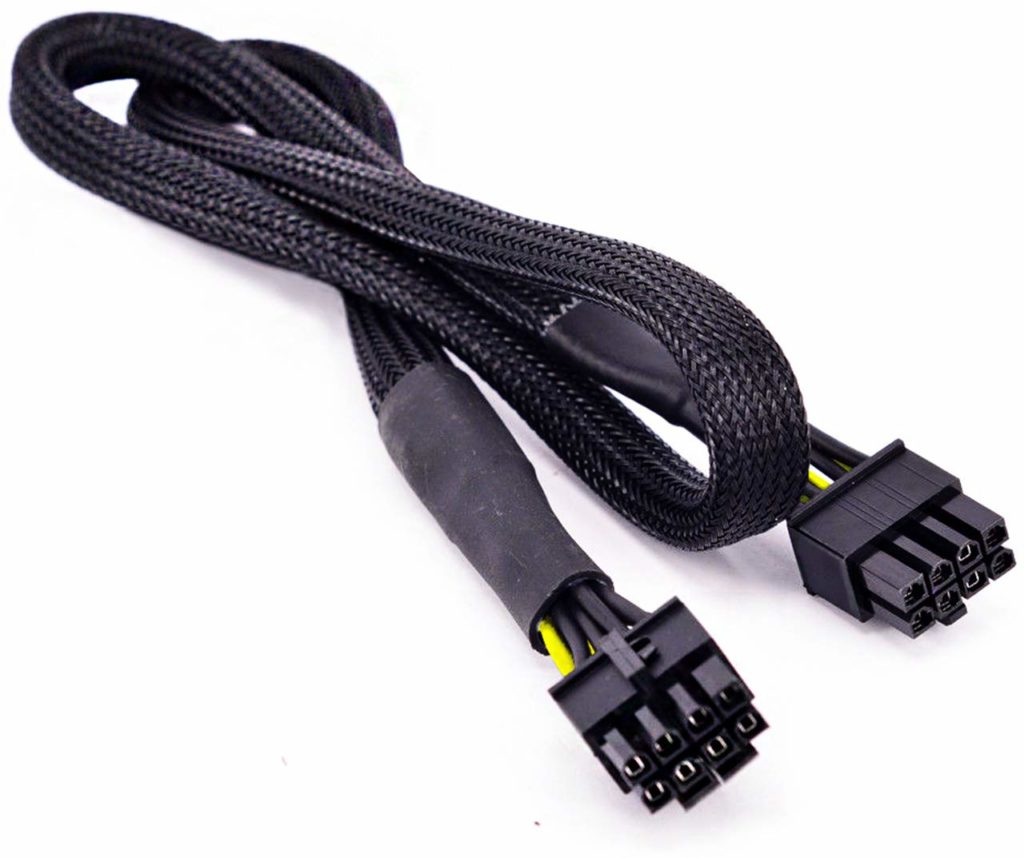
Once you have the right cablevision, attach the plug into the CPU port on your motherboard, which is frequently located at the top left-paw side of the board.

New Advanced Technology eXtended motherboards volition need all eight pins fastened to the motherboard, while older CPUs will only require four pins. If you only need the four pins, you tin can split the connector down the middle past separating the plugs. Subsequently connecting the cable to the CPU, adhere the other finish to the PSU slot labeled "CPU 1."
GPU
Plugging a graphics card into the PSU is the easiest stride in the installation procedure. For powering the graphics card, you'll demand the previously mentioned PCIe cables, otherwise known as VGA cables. PCIe cables have an eight-pin connection, but more than powerful graphics cards oftentimes require two PCIe cables.
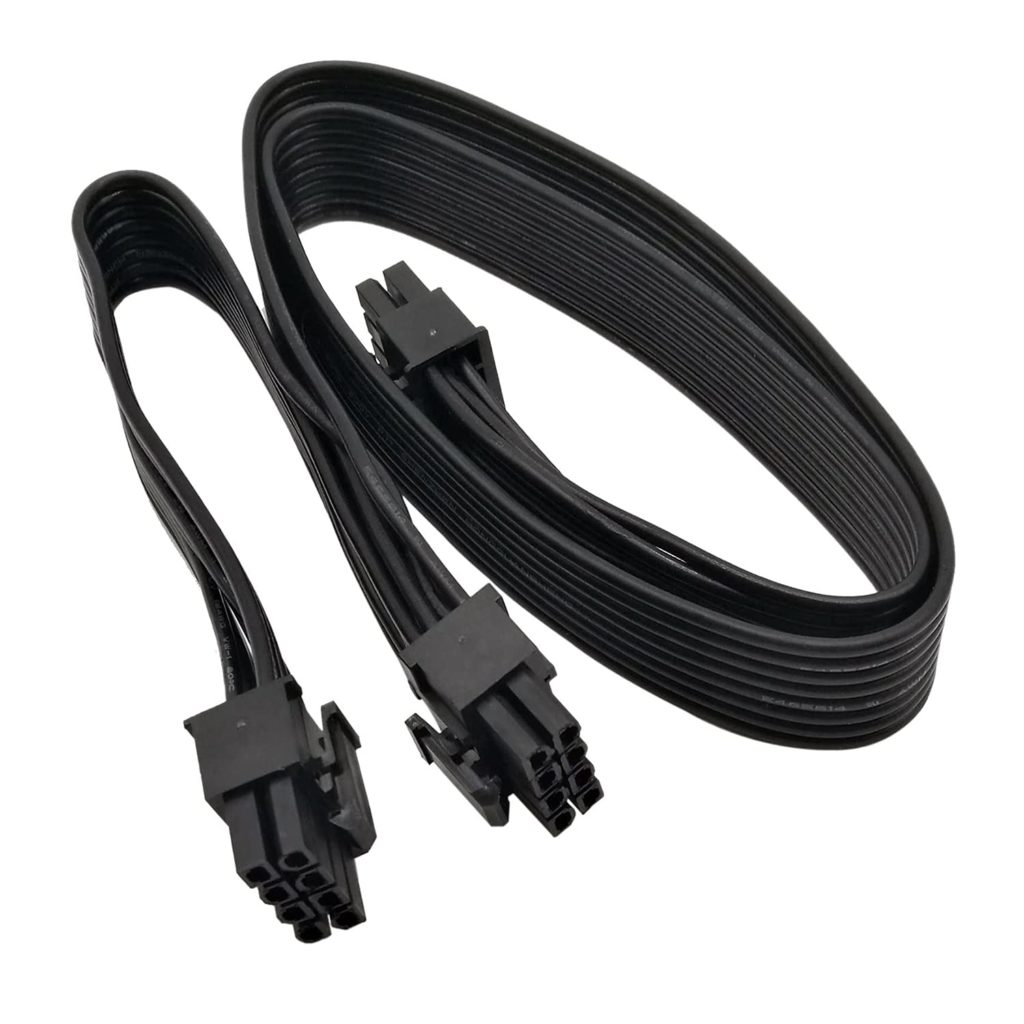
Plug the cables securely into the card with the clip facing downwardly. Keep pressing the cable in until you hear a click. That'due south the latch that secures the cable, signaling it's been attached correctly.
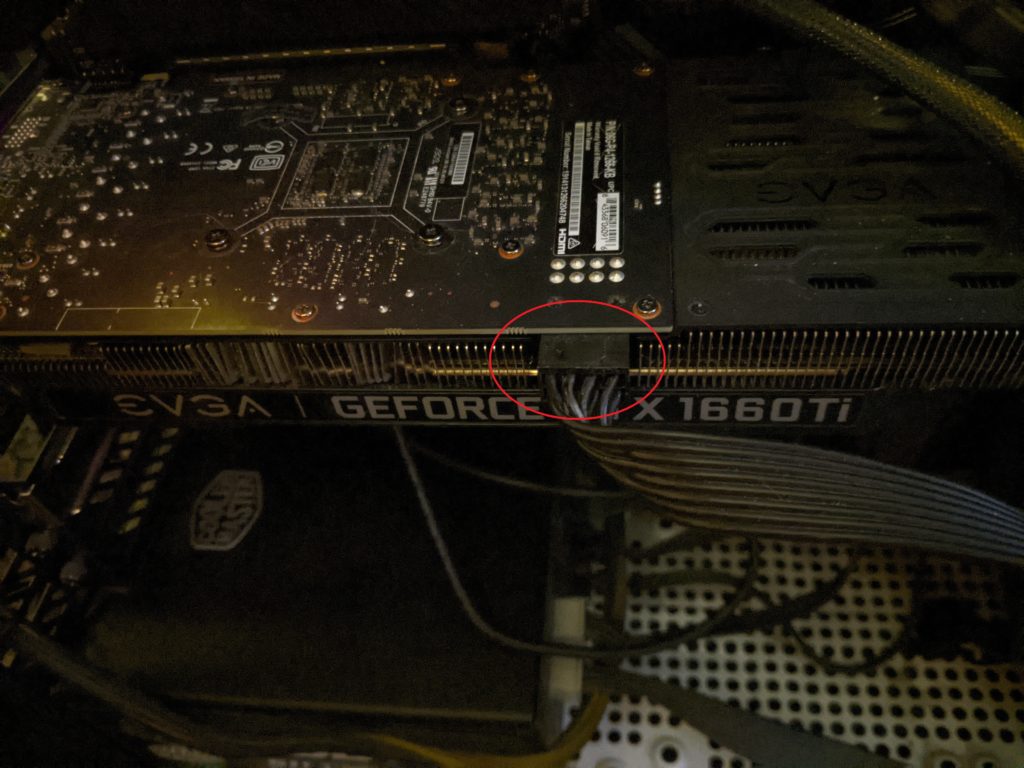
Adjacent, plug the opposite stop of the cable into your PSU in the PCIe/VGA 1 slot. For multiple graphics cards, repeat these steps, but plug the cable into the PCIe/VGA 2 slot.
Hard drives and solid-state drives
SATA cables have flat connectors at the end of them and are used to power HDDs and SSDs.
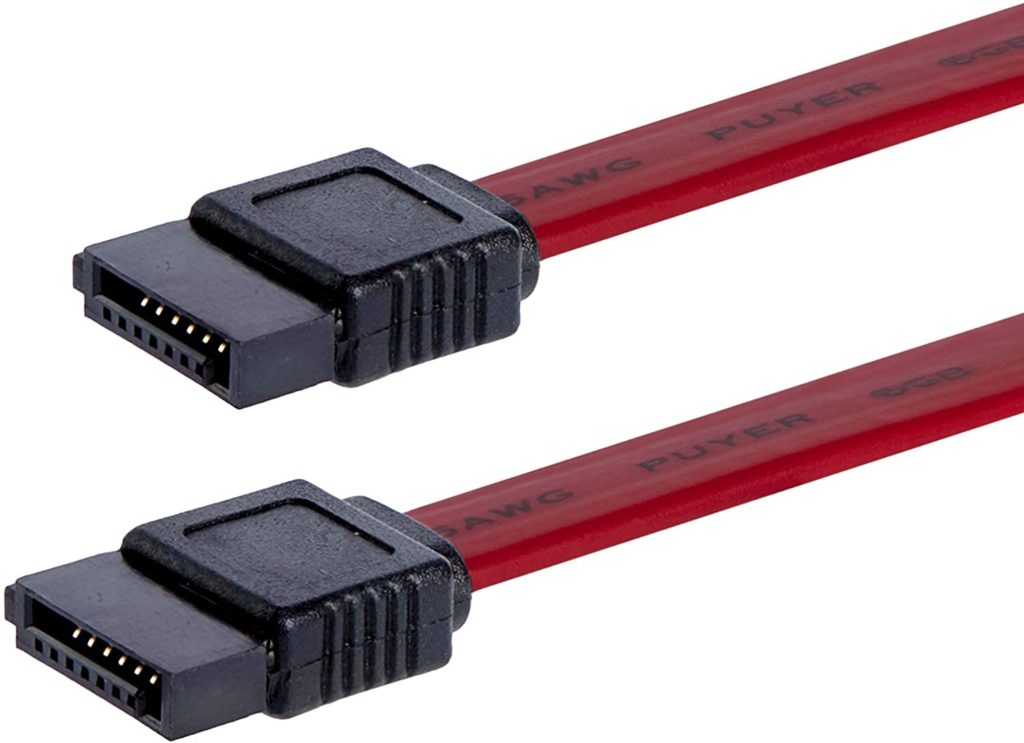
These cables adhere straight to your storage device via the respective opening. At that place is only one orientation to plug in the cablevision, so flip it over if information technology doesn't fit correct away.
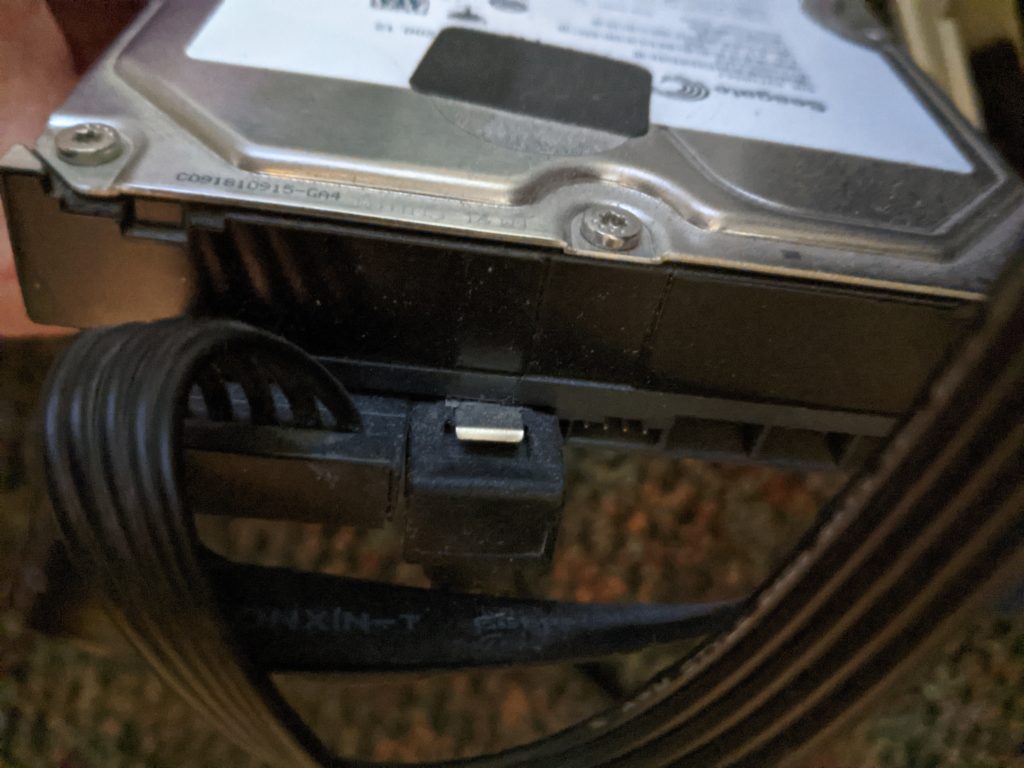
Plugging the cable into the PSU is the same process equally the other cables on this listing. The only departure is these plug into a SATA port.
Fans and other accessories
Molex cables are used to ability fan controllers and other accessories. Most case fans are powered directly by the motherboard these days, but many computer accessories, such as RGB controllers, still use Molex. Molex cables are distinguished by having 4 small pins on the plug.
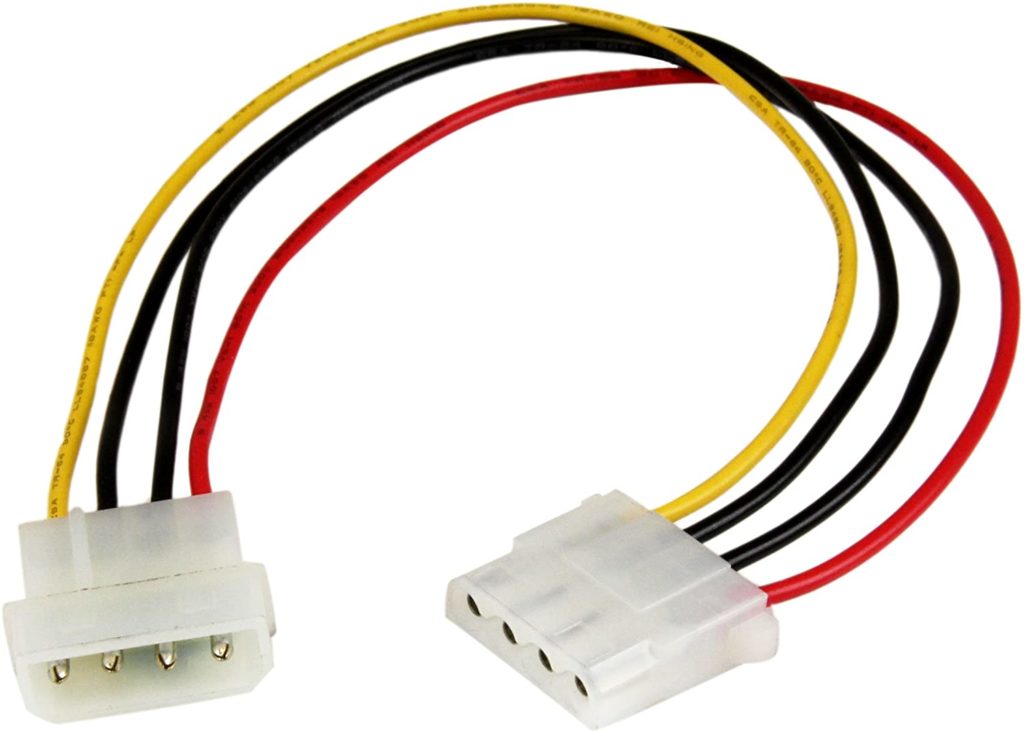
These cables demand to be lined upward perfectly to connect to fans and other devices, which tin be annoying to install. But the cables are durable enough that yous can move the pins around to get a tight fit. Notation that many Molex cables have multiple plugs on the aforementioned cablevision that tin all be used for dissimilar devices.

How To Set Up Power Supply,
Source: https://dotesports.com/hardware/news/how-to-install-a-fully-modular-power-supply
Posted by: rodenparrall.blogspot.com
0 Response to "How To Set Up Power Supply"
Post a Comment